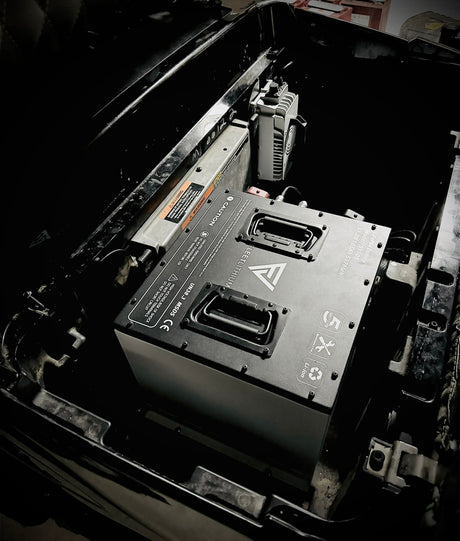
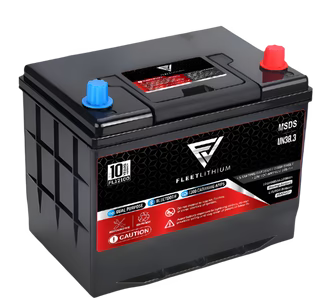
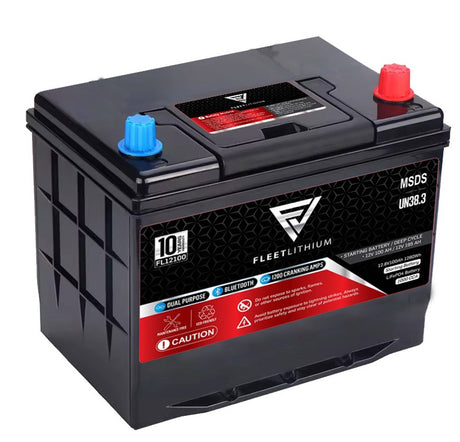
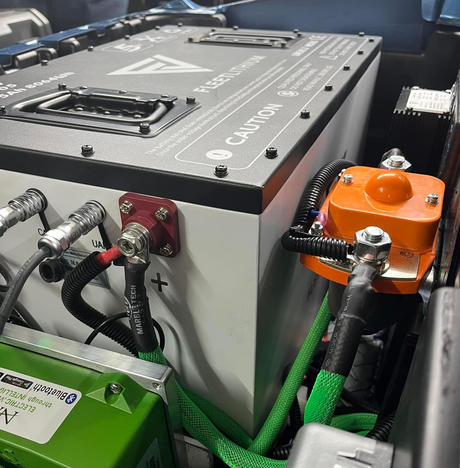
Can you convert an EPIC golf cart to lithium?
Yes. A compatible 48V lead-acid EPIC E20, E40 or E60 can be converted with a matched Fleet Lithium 51.2V battery system, mounting kit, lithium charger and SOC display. Confirm the original bank and electrical interfaces first. Some E60 layouts have batteries in two compartments, and newer factory-lithium carts need a different compatibility check.
A well-planned conversion gives your EPIC a battery configuration that suits your trips, passengers and charging routine. This guide brings the E20, E40 and E60 together while explaining the details that need to be checked on each cart: battery count, tray design, accessory power, charging and dashboard information.
Start with the battery system, not just the model year
This guide covers compatible 48V lead-acid E20, E40 and E60 carts. E40L and E60L use these checks when their mounting and electrical application are confirmed. The E20 Fleet listing currently covers 2022–2024 vehicles with a six-8V AGM bank. E40/E60 fitment also depends on the actual tray and battery arrangement.
EPIC’s 2024 E20 specification identifies a 48V AGM system. Its 2025 E40 and 2025 E60 information describes factory 51V lithium batteries with 48V drive systems. A newer year does not, by itself, mean a 72V cart.
Do not install a 76.8V pack in a 48V EPIC. If your cart already has factory lithium, or is an FX model, have Fleet confirm the replacement battery, communication harness, display and charging interface before ordering. This lead-acid conversion guide does not establish factory-lithium replacement compatibility.
EPIC lead-acid battery layouts: real before photos
E20 and E40: verify the six-battery bank
The E20 kit is listed for six 8V sealed AGM batteries. The E40 below also has six 8V batteries: 6 × 8V = 48V. Read the labels rather than identifying voltage by case size or terminal covers.


E60: check every compartment
This E60L has eight 6V batteries split between two bays. Six are visible in the larger compartment, with two more in a separate compartment. Together they form a 48V bank. Label the inter-compartment cable and account for every battery before removal.


Photograph the model/serial plate, complete bank, every connected terminal, controller, charger, DC converter and dashboard. Those details help Fleet confirm the right kit and prevent avoidable surprises once the original batteries are out.
Why choose Fleet Lithium for your EPIC?
- Capacity you can plan around. Compare nominal energy, your daily route and your opportunities to recharge.
- Useful battery information. The matching SOC display and supported Bluetooth monitoring help you see the state of the lithium battery.
- A coordinated conversion. Select the battery, charger, mounting and electrical components as a system.
- Fitment support. Fleet can help review your vehicle labels, tray photos and intended use before you choose a configuration.
If your EPIC has sealed AGM batteries, it already needs no watering. The reasons to consider lithium are the capacity options, battery information and characteristics of a suitable lithium system. Secure mounting, cable inspections and correct charging remain part of ownership. Review the current Fleet warranty terms for your chosen battery.
65Ah, 105Ah, 168Ah or 210Ah?
More amp-hours add stored energy; they do not raise the system voltage or the vehicle’s rated passenger capacity. Hills, speed, passengers, tires, temperature and accessories affect range. Choose enough reserve for the return trip.
| Option | Arrangement | Energy | Selection guidance |
|---|---|---|---|
| 65Ah | One pack | 3.33 kWh | Stock motor/controller and approved load. Confirm suitability for passenger load and terrain. |
| 105Ah | One pack | 5.38 kWh | Regular use with opportunities to recharge. |
| 168Ah | One pack | 8.60 kWh | More reserve in a single-pack configuration. |
| 210Ah | Two matched 105Ah packs in parallel | 10.75 kWh | Greatest capacity in these listings; approved dual mounting and wiring required. |
Nominal energy = 51.2V × Ah ÷ 1,000. These figures are not guaranteed usable energy or driving range. Controller amp labels alone do not establish battery current demand.
What comes with the conversion kit?
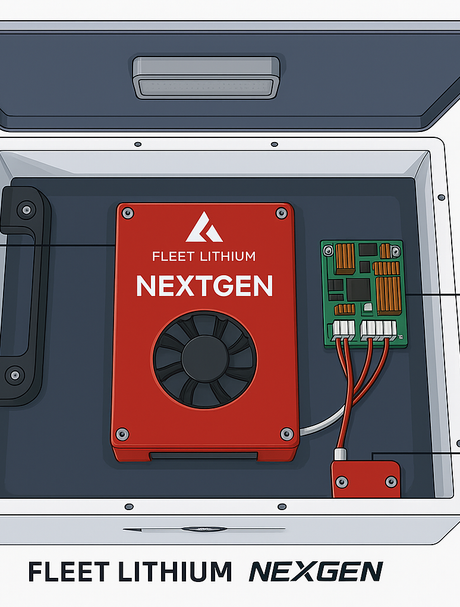
The current E40/E60 48V listing includes the selected Fleet battery configuration, CH5618 58.4V/18A lithium charger, BR4763 mounting kit, AC0219 inlet, CB0917 cable set and digital SOC gauge. The E20 listing uses its own matched mounting application and charger. Check your delivered order and instructions; do not assume the E40 bracket fits an E20.
The existing DC converter needs an input-range and load check; a replacement converter is not listed in every EPIC bundle. The 210Ah option also needs the approved parallel harness, protection, pack-matching procedure and support for both packs.
EPIC lithium installation: the practical sequence
Use the printable manual with the instructions supplied for your battery, mounting kit and exact vehicle. Have a qualified EV service provider handle electrical work beyond your training.
1. Open the seat and identify the EPIC service control
Park level, chock the wheels, unplug AC and turn the key OFF. Support a hinged seat, or lift a removable seat clear of its hinges. On the photographed under-seat control, select OFF. RUN is for normal operation; MANUAL EMB releases the electromagnetic brake and is not a service isolation setting. Photograph and label every battery connection before following the vehicle isolation and discharge procedure.
2. Remove the whole battery bank, including the second E60 bay
Tag the cables leaving the complete bank as MAIN + and MAIN −, and separately identify charger, converter and protected control feeds. Follow the long cable between the E60 compartments: it belongs to the old series string. Disconnect and insulate main negative, then main positive. Protect exposed posts while removing branch leads, series jumpers and restraints. Lift the old batteries upright and arrange recycling.
Retain the main vehicle cables, controller, converter, brake wiring and hydraulic reservoir. Remove obsolete battery links and loose restraint rods. Clean and dry the tray and repair damage. EPIC documented a four-seat support/rack change in its 2024 parts manual; match the actual tray and do not cut a seat-support crossmember to force a fit.
3. Fit the E20 mounting application or the E40/E60 BR4763 kit
Position the delivered bracket parts in the empty tray, align the attachment points and start the fasteners loosely. Check old hold-down bosses cannot touch the battery case. Keep the converter, seat hinges and brake reservoir clear. Secure the pack flat on its supported mount, tighten the restraints to the supplied specification, then lower the seat slowly to check terminal and cable clearance. The pack must not rock or slide.
Connect the identified drive supply and retained protected control feeds to the new battery. Keep the converter input on the full pack and its low-voltage outputs on the accessory harness. Follow Fleet terminal hardware and torque instructions; the old AGM torque is not the Fleet value. Leave motor U/V/W, encoder, temperature-sensor and electromagnetic-brake connections in place.
4. Replace the charger and preserve its separate control functions
Before lifting out the original charger, label its AC input, DC output and small drive-inhibit connection, plus any separate CAN or body charge-status lead. Support the charger as you remove its fasteners. Fit the supplied Fleet charger and inlet with cooling space, cable strain relief and the mounting orientation specified for that charger. The old EPIC vertical charger cradle does not establish the new charger's mounting pattern.
Connect the matched EPIC inhibit interface using its own wiring diagram. A disconnected inhibit lead can leave the lights and dashboard working while the cart will not drive. Do not jumper it to battery positive, connect it to the 12V converter or splice it by wire color. Another battery brand's CAN settings and connector assignments do not apply to Fleet.
5. Install the Fleet SOC display and check every EPIC function
Route the Fleet display cable beside the existing harness, away from the steering shaft, pedals and seat hinge. Keep the EPIC dashboard connected for vehicle information and fitted camera functions. Use the Fleet gauge for battery SOC.
With the key OFF and AC unplugged, power the Fleet pack according to its startup procedure, select RUN, then turn the key ON with your foot off the accelerator. Check lights, hazards, turn signals, horn, brake lights, USB/audio and reverse camera where fitted. Verify charging and the matched interface's stationary drive-inhibit test. Unplug AC before a low-speed D/R, high/low mode and brake test. Reinspect mounts, cables and seat clearance before normal use.
Installing the paired 210Ah option
Two matched Fleet 51.2V 105Ah packs connect in parallel: positive to positive and negative to negative. The original E60's split series bank does not determine the new pack wiring or mounting locations. Use both approved mounts and the complete parallel harness, match the packs as specified, and verify each pack participates in charging and driving. Connecting the new packs like the old lead-acid series string would double the voltage.
The EPIC converter, charger and dashboard


Can the original 12V converter stay?
The photographed E20 converter has a 60V maximum input, above the listed CH5618 charger's 58.4V output. It can remain when its condition, output, load and enable circuit are suitable. Check the actual label on your cart because converter versions differ. Keep lights, USB, camera and audio on the converter output; never move their 12V wires directly to battery positive.
Why do the lights work but the cart will not drive?
With AC unplugged, check RUN is selected and the accelerator was released at key-on. Confirm direction selection, then inspect the original charger drive-inhibit connector and the matched replacement interface. Also check controller faults and brake-control connections. Do not bridge an interlock to make the cart move. The manual distinguishes this symptom from a dead main/control feed or a failed accessory supply.
Will the original battery percentage still be right?
The AGM percentage display and body charge indicator are not automatically recalibrated by changing batteries. Read lithium SOC on the Fleet display and charging status on the matched charger. Keep the original EPIC dash connected for vehicle functions.
Keep it beside the cart
Download the combined EPIC installation manual
The 10-page Fleet manual includes separate E20, E40 and E60 battery-layout photos, labeled EPIC components, 18 installation and commissioning steps, the paired 210Ah diagram, and EPIC-specific troubleshooting. Its final page is a fillable installation record.
FL-IM-EPIC-48 • Revision 1.1 • October 9, 2026 • 48V lead-acid conversion scope.
Charging and everyday care
At 18A, simple Ah ÷ current estimates are about 3.6 hours for 65Ah, 5.8 for 105Ah, 9.3 for 168Ah and 11.7 for a paired 210Ah system. These are planning calculations: tapering, balancing, heating and accessory loads can extend charging. Use the charger’s completion indication.
Keep the battery secure and connections protected. Do not water, equalize or desulfate a lithium pack. Follow the current Fleet user manual for battery care and storage, and record fault information before cycling power when troubleshooting.
EPIC lithium conversion questions
Can I convert an EPIC E20, E40 or E60 to lithium?
A compatible 48V lead-acid EPIC can use a matched Fleet 51.2V nominal LiFePO4 conversion kit. Confirm the actual battery bank, tray, controller, converter and charger interfaces first. Factory-lithium and FX replacements require a separate compatibility check.
How many batteries does an EPIC golf cart have?
The E20 kit is listed for six 8V AGM batteries, and the E40 example in this guide also has six 8V batteries. The E60L example has eight 6V batteries split between two compartments: six in one and two in another. Both complete banks are 48V. Verify every battery label on your own cart.
Why is the Fleet replacement called 51V for a 48V EPIC?
51V is the product name for the 51.2V nominal LiFePO4 configuration offered for compatible 48V vehicles. This does not make a 72V or 76.8V pack interchangeable. Confirm the full operating range and controller configuration for your exact cart.
Can I reuse my EPIC lead-acid charger?
Use the lithium charger supplied for your Fleet kit. E40/E60 kits list CH5618 with 58.4V DC and 18A output. Confirm the actual charger label for your order. Preserve the approved charge-inhibit interface; the original AGM charger must not charge the Fleet pack.
Do I need a new 12V converter?
Not automatically. Many lead-acid EPIC carts already have a converter. Retain it only after confirming its full input range covers the Fleet battery through its maximum charge voltage, and that output, load capacity and enable wiring are suitable. Fit an approved replacement if it does not qualify.
Will my factory dashboard show the correct battery percentage?
Do not assume the factory AGM percentage gauge or body charge indicator will report the new battery correctly. Use the matching Fleet SOC display and the new charger indicators. Factory-lithium dashboards and communication harnesses need replacement-specific compatibility approval.
Is the 210Ah kit one battery or two?
The 210Ah system uses two matched 51.2V 105Ah packs in parallel, with approved mounting, cables, protection and pack matching. Capacity becomes 210Ah while nominal voltage remains 51.2V. Do not connect the packs in series.
Does an EPIC controller always need reprogramming?
There is no universal answer by model name or year. Verify the actual controller version, voltage limits, battery current demand and regenerative-braking configuration with Fleet or your service provider. Do not change protection values or bypass an interlock to make a conversion run.
How long does an EPIC lithium conversion take?
Allow time for identification, safe removal, tray inspection, mounting, wiring, charging and a low-speed test. Split battery compartments, support revisions and electrical interfaces can change the job. A universal 30-minute promise is not a reliable plan.
Build the right system for your EPIC
Start with your model/serial label, battery-bank photos, controller and charger labels, and how you use the cart. Fleet can help match the capacity and installation components before you order.