Upgrading Your RV with Lithium Batteries: Comprehensive Installation Guide, Benefits, and How to Choose the Right Battery Size
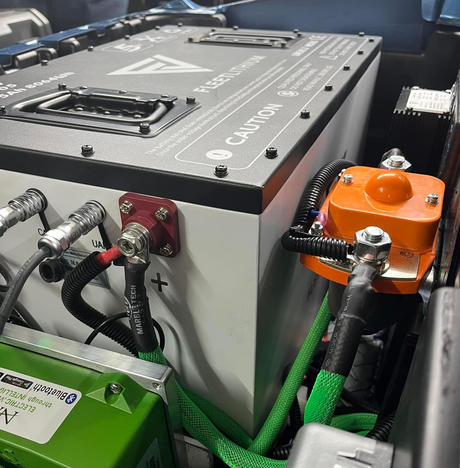
Upgrading your RV with lithium-ion batteries is an excellent way to enhance your power system, providing you with long-lasting, efficient, and lightweight energy storage. Lithium batteries, like those from Fleet Lithium, are superior to traditional lead-acid batteries due to their faster charging times, longer lifespans, and greater energy efficiency. This comprehensive guide will walk you through the installation process and help you choose the right battery size (Amp-Hour or Ah) for your RV.
Step 1: Choose the Right Battery for Your RV's Power Needs
When upgrading to lithium batteries for your RV, the first and most important step is choosing the right battery size to match your energy needs. Fleet Lithium offers a variety of batteries with different capacities to suit various RV configurations. Below are a couple of excellent options:
-
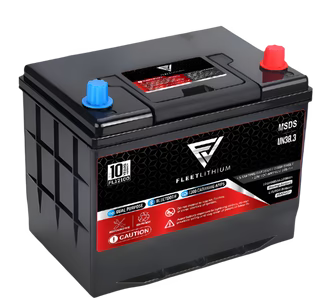
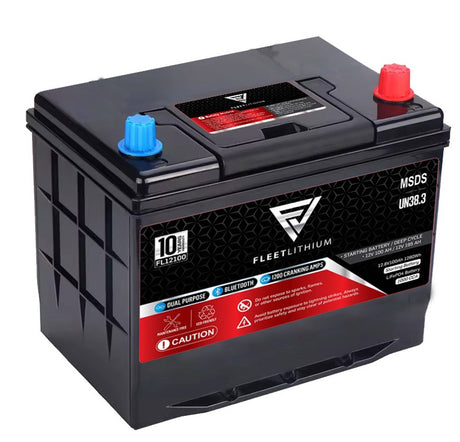
Fleet Lithium 12V 200Ah Battery: Ideal for smaller to medium-sized RVs with standard energy needs. It provides a balanced mix of power and capacity, making it a great choice for most RV setups. This battery is lightweight, compact, and offers a long lifespan compared to lead-acid batteries. Fleet Lithium 12V 200Ah Battery
-
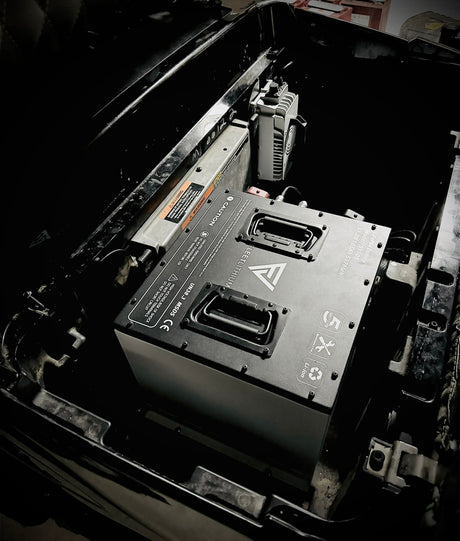
Fleet Lithium 48V 150Ah Battery: For larger RVs or systems with higher energy demands, the 48V 150Ah battery provides more power and storage capacity. This battery is perfect for RVs that run multiple high-energy-consuming appliances, such as air conditioning, larger refrigerators, or powerful inverters. Fleet Lithium 48V 150Ah Battery
How to Choose the Right Size (Ah) for Your RV
Choosing the right battery size (measured in Amp-Hours, or Ah) is crucial to ensure that your RV’s electrical system meets your power demands without overloading the battery or wasting energy. To determine the right Ah rating, you need to calculate your RV's daily energy usage and match it with an appropriate battery size.
Step 1: Calculate Your Daily Power Usage
To determine how many Amp-Hours (Ah) you’ll need, first calculate your total daily power consumption in Watt-Hours (Wh). Here's how to do it:
-
List Your Appliances: Write down all appliances and electronics you plan to use in your RV, such as lights, TV, fridge, fans, air conditioning, and other devices.
-
Find the Power Consumption (W): Look at the wattage (W) of each appliance, typically found on the product label or in the user manual.
-
Estimate Usage Time: Multiply the wattage by the number of hours you plan to use each appliance per day.
Example Calculation:
Here’s an example of a basic RV power consumption for common devices:
| Appliance | Power (W) | Hours Used/Day | Energy Used (Wh) |
|---|---|---|---|
| Refrigerator | 150W | 24 hours | 3,600 Wh |
| LED Lights (x5) | 10W | 6 hours | 300 Wh |
| Laptop | 50W | 4 hours | 200 Wh |
| TV | 100W | 3 hours | 300 Wh |
Total Energy Usage = 3,600 Wh (Refrigerator) + 300 Wh (Lights) + 200 Wh (Laptop) + 300 Wh (TV) = 4,400 Wh or 4.4 kWh.
Step 2: Convert Watt-Hours (Wh) to Amp-Hours (Ah)
Now that you know your total daily energy usage, you can convert Watt-Hours (Wh) to Amp-Hours (Ah). Use the following formula:
Ah=Voltage (V)Wh
For example, if you are using a 12V system:
Ah=12V4,400Wh=366.67Ah
This means you would need a 12V 400Ah lithium battery to meet your daily energy demand.
For larger RVs or systems with a 48V configuration, the calculation will be similar, but the higher voltage allows for a smaller capacity, resulting in reduced weight and more efficient power transfer.
Step 2: Remove the Old Lead-Acid Battery
Once you've selected your Fleet Lithium battery, it's time to replace your old lead-acid battery. Follow these steps to ensure a safe battery replacement:
-
Turn Off All Electrical Components: Power down all electrical systems in the RV, including lights, fans, pumps, and appliances, to prevent electrical surges.
-
Disconnect the Old Battery: Begin by disconnecting the negative terminal first, followed by the positive terminal. This prevents accidental short circuits.
-
Remove the Old Battery: After disconnecting the terminals, remove the old lead-acid battery from its compartment. Make sure to dispose of the old battery responsibly by following local recycling regulations.
Step 3: Prepare the Lithium Battery for Installation
Fleet Lithium batteries are designed to be simple to install and are typically much lighter and more compact than traditional lead-acid batteries.
-
Clean the Battery Compartment: Ensure the compartment is dry, clean, and free from any debris or dirt.
-
Position the Lithium Battery: Place the Fleet Lithium battery into the same compartment as your old battery, ensuring it fits securely. If the compartment has adjustable battery trays or mounts, ensure they accommodate the size and weight of your new lithium battery.
Step 4: Connect the New Lithium Battery
Once the lithium battery is positioned, it’s time to connect it to the RV’s electrical system:
-
Connect the Positive Terminal First: Always connect the positive terminal first to avoid sparks or short circuits.
-
Connect the Negative Terminal: Once the positive terminal is secure, connect the negative terminal.
-
Tighten the Connections: Use a socket wrench to ensure the terminals are tightly connected, but avoid over-tightening to prevent damage to the battery terminals.
-
Check for Secure Connections: Double-check to ensure that both terminals are securely fastened and there is no chance of loose wiring.
Step 5: Test the System
After connecting the Fleet Lithium battery, turn on the RV’s electrical system and test the power output:
-
Check Battery Voltage: Use a multimeter or voltage tester to ensure that the battery is providing the correct voltage to your RV’s system.
-
Monitor Appliance Performance: Turn on a few appliances (lights, refrigerator, etc.) to make sure the power is flowing correctly and that there are no issues with battery power.
-
Ensure Proper Charging: If your RV is connected to a solar power system or an external charging source, ensure that the lithium battery is charging properly.
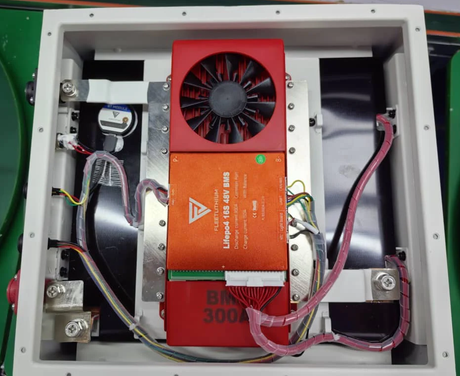
Fleet Lithium batteries also come equipped with Battery Management Systems (BMS) that protect the battery from overcharging, over-discharging, and overheating, ensuring its longevity and reliability.
Conclusion: Enjoy the Benefits of Fleet Lithium Batteries in Your RV
Upgrading to Fleet Lithium batteries offers numerous advantages over traditional lead-acid batteries:
- Longer Lifespan: Fleet Lithium batteries last up to 10 times longer than lead-acid batteries, providing greater value over time.
- Faster Charging: Lithium batteries charge more quickly, so you can spend less time waiting for a charge and more time enjoying your RV.
- Lightweight and Compact: Lithium batteries are significantly lighter than lead-acid batteries, allowing you to free up space and reduce overall vehicle weight.
- More Efficient Power: Lithium-ion batteries are more energy-dense, which means they store more energy in less space and provide consistent power for longer periods.
By properly sizing your battery and following the installation process, you'll enjoy a reliable, efficient, and long-lasting RV power system.
If you're ready to upgrade your RV with Fleet Lithium batteries, visit our Fleet Lithium RV Battery Collection to explore our full range of products designed to meet your energy needs.


