How to Install Lithium Batteries for Off-Grid Solar Power Systems: A Detailed Step-by-Step Guide
Upgrading your off-grid solar power system with Fleet Lithium batteries is one of the best decisions you can make. Lithium batteries offer numerous advantages over traditional lead-acid batteries, including faster charging, longer lifespan, and more efficient energy storage. In this detailed guide, we’ll take you through the process of installing Fleet Lithium batteries into your off-grid solar system and help you choose the right battery size (Amp-Hour or Ah) based on your energy needs.
Step 1: Choose the Right Lithium Battery
Choosing the right lithium battery is the first step in upgrading your off-grid solar system. The capacity of your battery determines how much energy it can store and, ultimately, how long it will power your appliances before needing to be recharged. For solar power systems, you’ll need a battery that can handle deep cycles and provide reliable power over an extended period.
Battery Types for Off-Grid Solar Systems
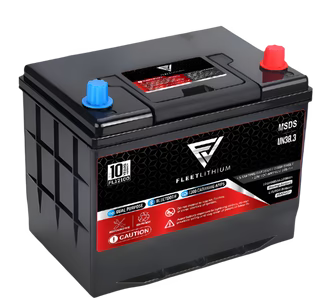
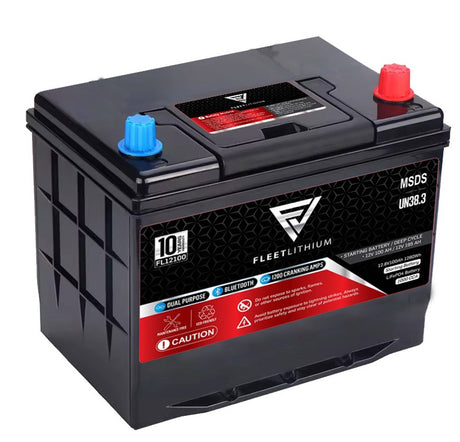
Fleet Lithium offers a range of lithium batteries with different voltage and capacity options, including:
- 12V Lithium Batteries: Suitable for smaller off-grid systems or systems with lower power demands.
- 24V Lithium Batteries: Perfect for medium-sized off-grid systems with moderate energy consumption.
- 51V Lithium Batteries: Ideal for large off-grid systems where high capacity and efficiency are required.
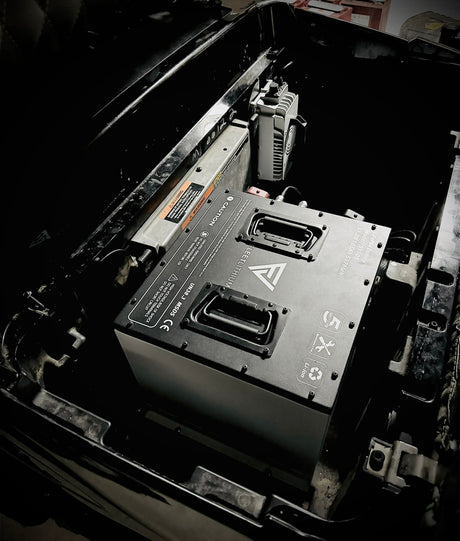
For larger setups, the Fleet Lithium 51V 200Ah Battery offers an excellent combination of high voltage and large capacity, making it perfect for storing energy in systems that have high daily energy usage. The higher voltage allows for better efficiency in transferring power from the solar panels to the battery bank.
Step 2: Understand Your Power Needs
To determine the appropriate battery size (in terms of Amp-Hours, Ah) for your off-grid solar power system, you must first calculate how much energy you use on a daily basis. This will guide you in selecting the right battery capacity to ensure you can store enough energy to power your system efficiently.
How to Calculate Daily Energy Usage (Watt-Hours)
List All Your Appliances: Identify the devices and appliances you plan to power with your off-grid solar system, including refrigerators, lights, pumps, fans, and any other critical equipment.
Find the Power Consumption: Check the wattage (W) of each appliance. This information is often available on the appliance label or in the user manual.
Estimate Usage Time: Multiply the power consumption of each device by the number of hours you plan to use it each day.
Example: Let’s say you want to calculate the energy required for common appliances in your off-grid home:
| Appliance | Power (W) | Hours Used/Day | Energy Used (Wh) |
|---|---|---|---|
| Refrigerator | 200 | 24 | 4,800 Wh |
| LED Lights (x5) | 10 | 6 | 300 Wh |
| Laptop | 50 | 4 | 200 Wh |
| TV | 100 | 3 | 300 Wh |
Total Energy Usage = 4,800 Wh + 300 Wh + 200 Wh + 300 Wh = 5,600 Wh or 5.6 kWh
Step 3: Convert Energy Usage to Battery Capacity (Ah)
Now that you know how much energy you need to store (in Wh), you can convert that figure to Amp-Hours (Ah). This step will give you the required battery size.
Formula: To convert watt-hours (Wh) to amp-hours (Ah), you can use the following formula:
Ah = Wh / Voltage (V)
Let’s assume you’re using a 51V Fleet Lithium Battery. With a total energy consumption of 5,600 Wh, the calculation would be:
Ah = 5,600 Wh / 51V = 109.8 Ah
So, you would need a 51V, 110Ah lithium battery to meet the daily energy demand of your off-grid home.
Step 4: Depth of Discharge (DoD) and Safety Margin
Lithium batteries can be discharged much deeper than traditional lead-acid batteries. However, to preserve the lifespan of the battery, you should avoid discharging it completely on a regular basis.
Lithium batteries typically have a Depth of Discharge (DoD) of around 80%. This means you should only use up to 80% of the battery’s total capacity regularly. To accommodate for this, you can oversize your battery bank to ensure you don’t run out of power too soon.
For example, if your required capacity is 110Ah, you might want to size up your battery to 137.5Ah:
Required Battery Size = 110 Ah / 0.8 = 137.5 Ah
This will ensure that even with the recommended DoD, you have enough energy to meet your needs.
Step 5: Install the Inverter and Charge Controller
Before you can install your lithium battery, ensure that your solar system has the appropriate components: an inverter and charge controller.
Inverter: The inverter is responsible for converting the DC power generated by your solar panels and stored in your lithium battery into AC power that can be used by standard household appliances. Make sure the inverter you choose is compatible with your battery voltage (e.g., 12V, 24V, or 51V) and can handle the required power output.
Charge Controller: The charge controller regulates the voltage and current going into your battery from the solar panels, preventing overcharging and maximizing battery life. Be sure to choose a MPPT (Maximum Power Point Tracking) charge controller, as these are more efficient at converting solar energy into usable power compared to older PWM controllers.
Step 6: Battery Placement and Wiring
Once your inverter and charge controller are set up, it’s time to install the lithium battery.
Battery Placement: Place your Fleet Lithium battery in a cool, dry, and well-ventilated space, away from direct sunlight, moisture, and extreme temperatures. This will help maximize the performance and lifespan of the battery.
Wiring:
- Parallel Wiring: If you need to increase capacity but maintain the same voltage, you can connect multiple batteries in parallel.
- Series Wiring: To increase voltage, you can wire batteries in series (e.g., two 12V batteries to create a 24V system).
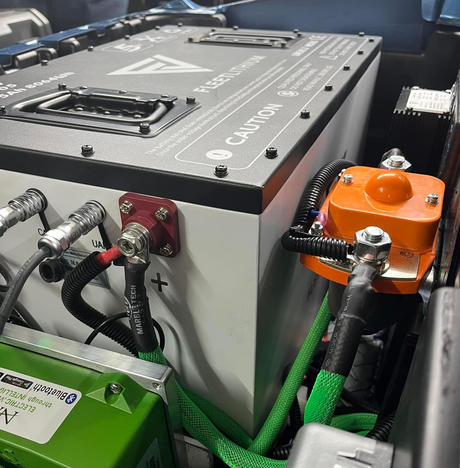
Follow the manufacturer’s instructions for wiring and ensure that the terminals are securely connected. Use proper-sized cables and connectors to handle the current draw.
Step 7: Test the System and Monitor
Once everything is installed, turn on the system and perform a series of tests to ensure it’s functioning properly.
Test the Battery: Use a voltage meter to check the voltage output of the lithium battery and ensure that it’s correctly providing the required power.
Monitor the Battery: Monitor the battery and solar system’s performance for the first few days to ensure that everything is working smoothly. Check for issues such as undercharging, overcharging, or any irregularities in power flow.
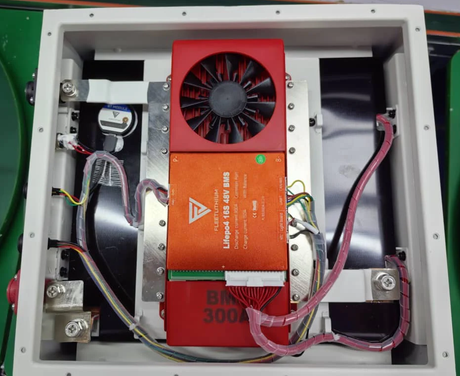
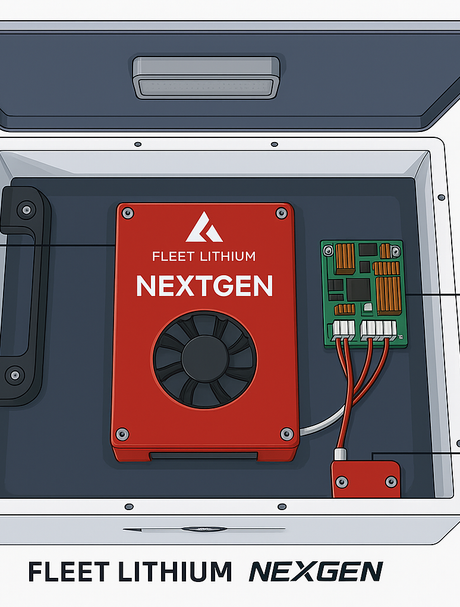
Battery Monitoring System (BMS): Fleet Lithium batteries come equipped with a Battery Management System (BMS) that automatically protects the battery from overcharging, over-discharging, and overheating, helping to extend the life of your battery.
Conclusion: Enjoy Reliable, Long-Term Off-Grid Power
Installing Fleet Lithium batteries into your off-grid solar power system will provide you with a reliable, efficient, and long-lasting energy source that far outperforms traditional lead-acid batteries. With the proper installation and sizing based on your energy needs, you’ll be able to enjoy consistent power, minimal maintenance, and a battery system that can last for years.
If you’re ready to upgrade your off-grid solar setup with Fleet Lithium batteries, explore our Fleet Lithium Solar Storage Batteries and find the perfect solution for your power needs.

